How Concrete Slabs Should Be Placed and Compacted During Construction
- ClearScope Building Inspections

- Feb 20
- 6 min read
Updated: Feb 26
Building a new home involves many steps that happen in sequence, and one of the most important early milestones is the slab pour. Homeowners often see a lot of activity on slab day, trucks arriving, pumps running, crews working quickly, but it can be hard to understand what should normally be happening and why it matters.
This guide explains How Concrete Slabs Should Be Placed and Compacted During Construction, using plain site-experienced language to help you understand what typically occurs on residential builds across Victoria.
Why the slab placement process matters and how it affects how concrete slabs should be placed
The concrete slab forms the structural base of the home. Everything built afterwards, framing, walls, roofing, plaster, cabinetry and finishes, ultimately relies on that base sitting correctly and performing as intended.
Australian construction rules such as the National Construction Code (NCC) require structural elements to be built so they safely support loads. For residential slabs specifically, AS 2870 (Residential slabs and footings) sets out design and construction expectations, while AS 3600 (Concrete Structures) covers placement, durability, and compaction practices.
For homeowners, this simply means:
the ground must be properly prepared
reinforcement must be correctly positioned
concrete must be placed continuously and compacted well
curing must be managed properly
When these steps are followed, later stages such as the frame stage inspection, lock-up or pre-plaster inspection, and pre-handover inspection usually progress more smoothly.
For homeowners wanting to understand the difference between structural and non-structural concrete cracking—and when a crack might be a serious issue—see our detailed guide on concrete crack types and when to worry.

Slab preparation before concrete arrives
Before any concrete truck appears on site, most of the important work has already happened.
Site cut and fill preparation
The first step is preparing the building platform.
This may include:
excavation of unsuitable soil
filling and levelling to design height
compacting the ground in layers
Proper compaction of the subgrade is important because loose ground can settle later. AS 2870 requires the supporting material beneath the slab to be suitable for the site classification and properly prepared.
From a homeowner’s perspective, the site should normally look:
level
firm underfoot
free of soft or muddy areas
Subgrade compaction
Compaction machines are used to compress the soil or fill material. The goal is to create a stable base so the slab does not move unevenly later.
If the ground isn’t compacted properly:
the slab may settle
cracking risk can increase
structural performance may be affected
This preparation is usually checked before pouring.
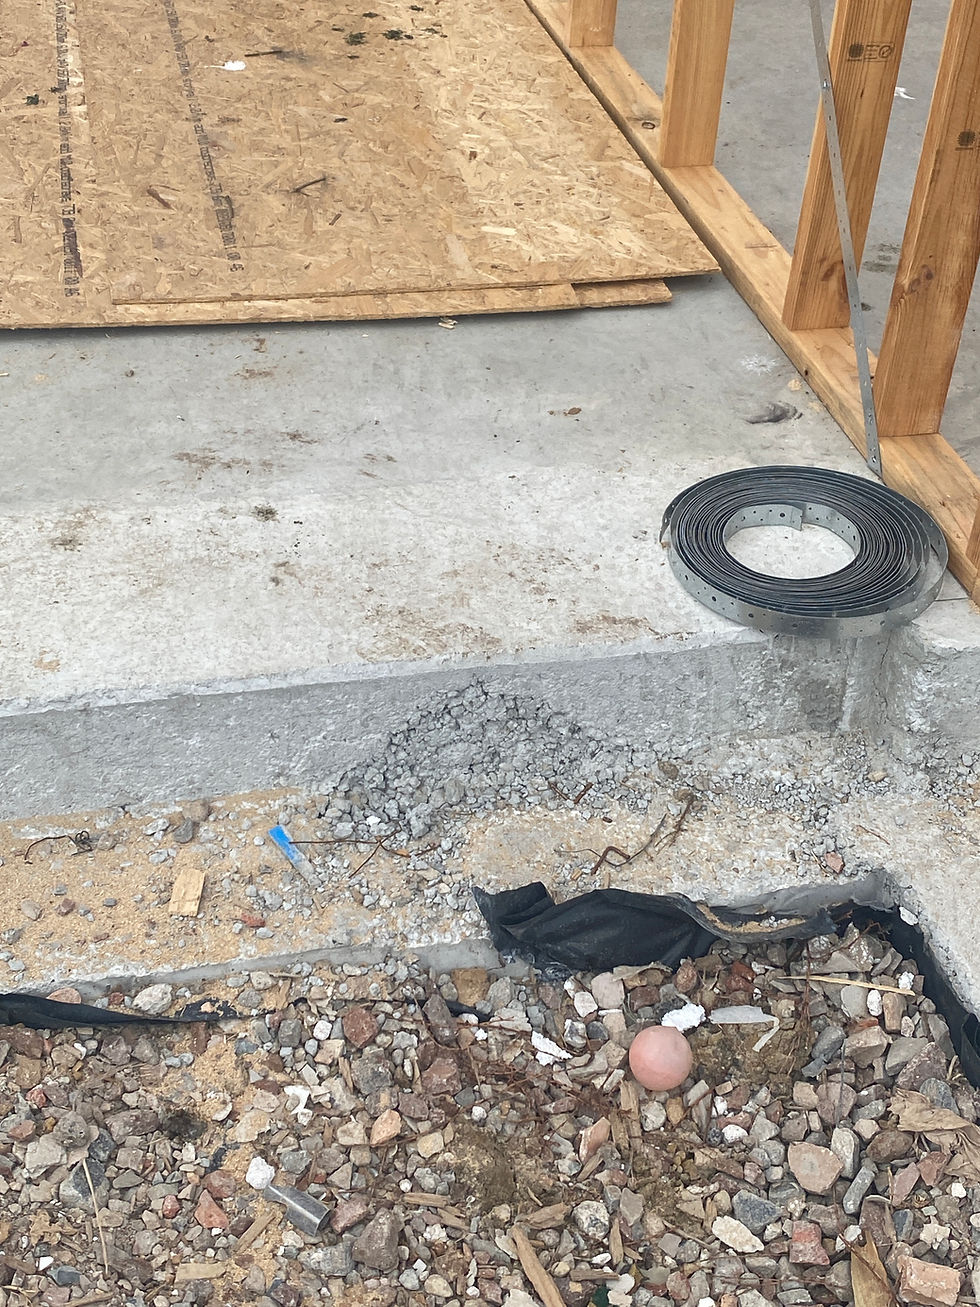
Moisture barrier placement
A plastic membrane (vapour barrier) is normally installed across the slab area.
This barrier:
helps control ground moisture
protects internal floor finishes later
forms part of NCC moisture management requirements
Homeowners often see black plastic sheeting taped at joins and wrapped around penetrations.
Reinforcement installation
Steel reinforcement mesh and bars are then installed.
These help the slab resist:
cracking
movement
structural loads
AS 2870 and AS 3600 both require reinforcement to be positioned correctly within the concrete, not sitting on the ground.
Workers usually use:
plastic bar chairs
spacers
supports
to hold the steel at the right height so concrete surrounds it fully.
Service penetrations
Before the pour, plumbing pipes, conduits, and drainage penetrations must already be installed.
These are normally:
secured in place
sealed around the membrane
positioned according to plans
Because once concrete is poured, these locations cannot be easily changed.
Pre-pour inspections often occur here
This preparation stage is commonly when a slab stage inspection takes place.
Independent inspections at this point often review:
membrane placement
reinforcement positioning
penetrations
site preparation
Independent staged inspections help document each major construction phase including the slab, frame and final handover.

Concrete placement process on slab day
Once preparation is complete, slab day typically becomes a coordinated and fast-moving process.
Concrete delivery
Concrete arrives in agitator trucks from the batching plant. Timing matters because concrete begins curing once mixed. Multiple trucks are usually scheduled so the pour continues without long delays.
Pumping or chute placement
Concrete is normally placed either:
via a concrete pump and hose
directly from truck chutes
Pump placement is common on residential sites as it allows workers to distribute concrete evenly across the slab area.
Continuous pour sequencing
Residential slabs are normally poured continuously rather than in separate sections. This helps avoid what builders call “cold joints”, areas where one section starts curing before the next is placed. Continuous placement helps the slab behave as one solid structure.
Ensuring concrete flows around reinforcement
Workers spread the concrete using:
shovels
rakes
screed boards
The goal is to ensure the mix:
reaches all edges
fills beams and trenches
flows around reinforcement
This is where proper compaction becomes especially important.
Compaction and vibration (critical for slab performance)
This is one of the most important but least visible parts of slab construction.
Why vibration removes trapped air
Fresh concrete contains air pockets once poured.
If left untreated, these air pockets can create:
internal gaps
reduced strength
uneven density
Concrete vibrators are used to gently shake the mix so trapped air rises to the surface.
Why proper compaction ensures strength
Concrete gains its designed strength only when:
the mix is dense
materials are evenly distributed
voids are minimised
AS 3600 emphasises correct placement and consolidation so the concrete performs as intended.
For homeowners, this means the slab should not just look smooth on top, it must be solid internally.
Why concrete must fully surround reinforcement
Steel reinforcement works best when fully embedded in concrete.
If gaps remain around the steel:
moisture can reach the reinforcement
durability can reduce
structural behaviour may be affected
Proper vibration ensures the concrete flows underneath and around the steel mesh and bars.
How insufficient vibration can create voids
If concrete is not properly placed or compacted, issues such as slab honeycombing can sometimes occur.
Honeycombing refers to visible voids or rough cavities in the concrete where air pockets remained trapped.
While not always visible immediately, proper placement and vibration greatly reduce this risk.

Surface finishing and curing
Once the slab is placed and compacted, finishing begins almost immediately.
Screeding
Workers use long straight screed boards to level the concrete surface to the correct height.
This step:
removes excess concrete
establishes floor level
Floating
After screeding, the surface is floated. Floating smooths the concrete and pushes small stones slightly below the surface. This creates a more uniform finish.
Edge finishing
Edges around:
garage openings
doorways
slab perimeters
are hand-finished to ensure neat transitions and correct shaping.
Curing process
Curing is extremely important. Concrete does not simply “dry”, it chemically cures over time.
Proper curing helps:
achieve strength
reduce cracking risk
improve durability
Builders may:
spray curing compounds
keep surfaces moist
protect the slab from early traffic
AS 3600 highlights curing as a key part of concrete performance.
Protection from early drying or damage
Fresh slabs are normally protected from:
rapid sun drying
heavy loads
premature framing
Homeowners often see temporary barriers or taped areas to prevent walking on fresh concrete.

What homeowners normally see when slabs are done correctly
On a typical residential slab day, homeowners usually notice:
steady truck deliveries
continuous crew activity
pump hoses moving across the site
workers vibrating and levelling concrete
finishing tools smoothing surfaces
Afterwards, the slab should generally appear:
level
consistent in colour (after curing)
without large surface voids
The Victorian Guide to Standards and Tolerances explains that minor visual variations in concrete appearance can be normal, provided structural performance is not affected.
How slab quality connects to later construction stages
The slab isn’t just an early step, it influences everything built afterwards.
For example:
framing accuracy depends on slab level (checked at frame stage inspection)
wall alignment and services depend on slab layout (often reviewed at pre-plaster or lock-up inspection)
floor finishes and doors are affected by slab flatness (seen again at pre-handover inspection)
Because of this, early slab quality often affects how smoothly the rest of construction progresses.
Understanding the role of independent inspection documentation
Some homeowners choose to obtain independent staged inspection reports during construction.
Providers such as ClearScope Building Inspections document each stage of the build using written observations and photographic records. This type of reporting helps homeowners understand what has been completed, what is visible at the time of inspection, and how earlier stages like the slab connect to later construction milestones.
The purpose of this documentation is typically to help homeowners follow the construction process clearly rather than to interrupt normal site sequencing.
Final thoughts for homeowners
Concrete slab construction is one of the most coordinated stages of a residential build. Although slab day can appear fast-paced, the real quality of the slab depends heavily on preparation, correct placement, proper vibration, and controlled curing.
When the process follows normal construction practices aligned with the NCC, AS 2870, and AS 3600, the slab usually forms a stable base that supports the entire home through the remaining stages, from the slab stage inspection through to the final pre-handover inspection.
Understanding what normally happens on slab day helps homeowners feel more confident watching their home begin to take shape from the ground up.


Comments